We’ve discussed painting in morning light and painting in mid-day light. Now let’s talk about painting outdoors in late-day light.
Late-Day Light
For the sake of simplicity, I’ll include the afternoon and evening hours in this segment on late-day light. You’ll find that late-day light will behave somewhat opposite of morning light, gradually diminishing until night falls. Some tips:
- Shadows cast by objects will steadily increase in size as time passes.
- Shadows won’t appear to change as quickly in back-lit or front-lit subjects. But colors will change temperature, especially toward the evening hours.
- As usual, first block in areas in your scene that you know will change fastest so that your shapes are established.
- A small pencil sketch can be helpful in case you need to remember what the shadow shapes looked like when you began your painting session.
- For evening scenes, sit and observe one evening. Take mental notes or make small sketches. Then return to the location and paint a second evening using your plan from the previous visit for a certain shape arrangement and color palette.
-
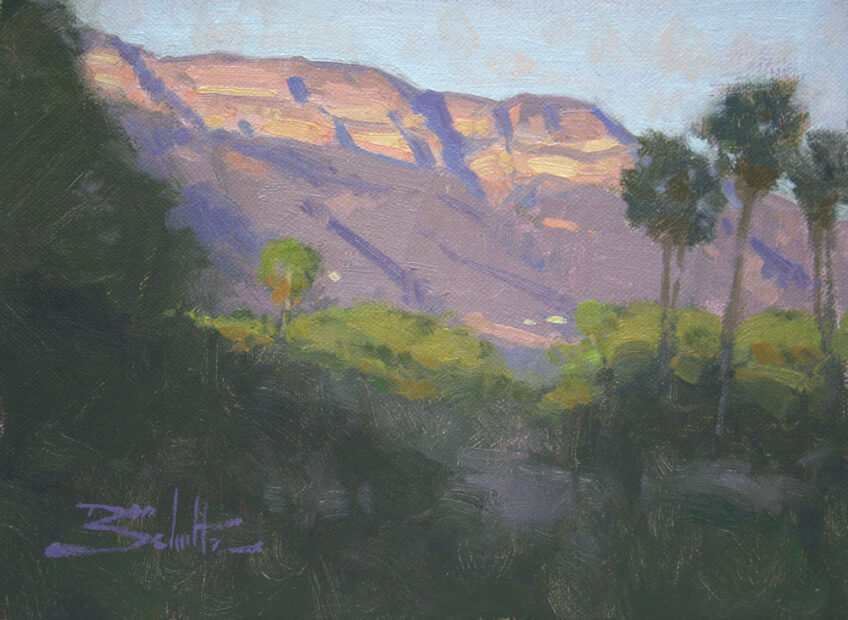
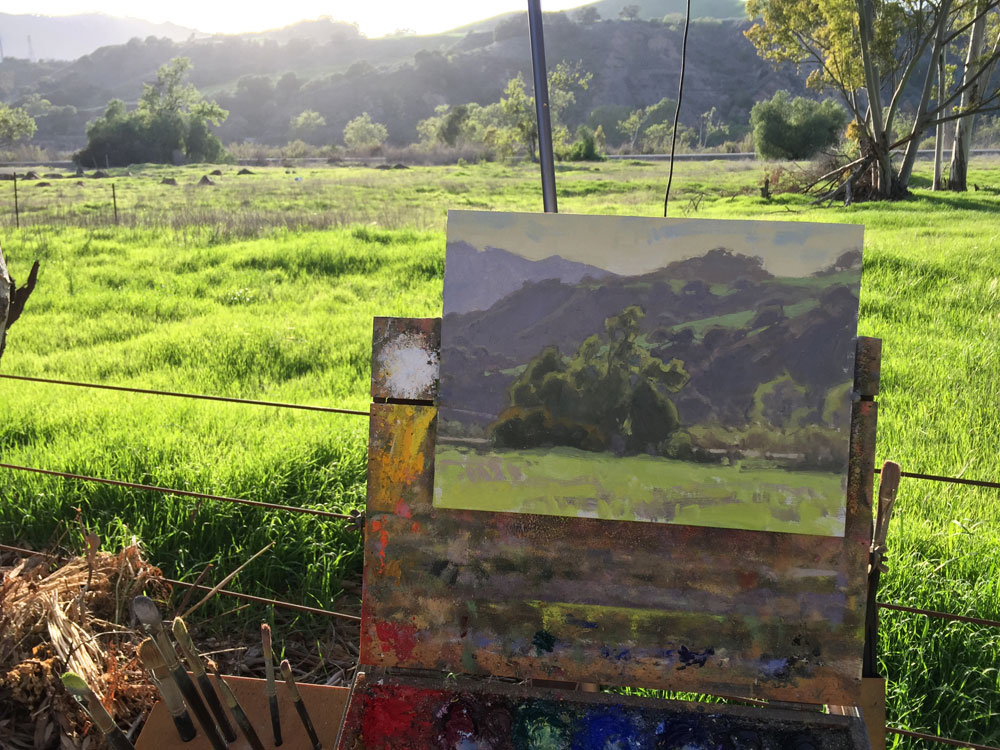
My evening painting “Fading Light” (6×8 inches, oil on linen panel). My process for painting in the evening: I arrive at my location early enough to set up and get started before the light effect I’m hoping to paint actually occurs. Then I begin blocking in shapes with colors I predict will happen at that time. As the time gets closer to the light effect I’m trying to capture, I can quickly change any incorrect colors before adding detail. I used this process for “Fading Light” (pictured below).
- Colors shift very quickly when it’s close to sunset. Be careful that you don’t get lost trying to chase those elusive color changes.
- Try limiting yourself to small canvases when going after rapidly-changing light effects. Time will be at a premium and you don’t want to waste it filling in a larger canvas. (You can paint a larger version based on your study once you’re back in your studio.)
- Don’t let yourself paint too long after sunset unless you have a portable light. A good rule of thumb: You know your painting is done when you can’t see it anymore. 🙂
You may have noticed that in each of these three posts about changing light, several tips are helpful for painting any time of day. Feel free to go back and read the tips in the first two posts again — here and here.
I think the best overall advice for painting in any light is to practice as much as you can. Try to get yourself out there at different times of day. Remember that you can guarantee your improvement through repetition.
If you have any other helpful thoughts about painting outdoors in late-day light, leave a comment below!
2 Responses
Gayle Martin
Thank you, Dan, for these helpful tips. I always enjoy your work and appreciate you sharing your process. Take care. Gayle
Bobbi Dunlop
Always such interesting and great advice, Dan! Thank you so much for sharing!