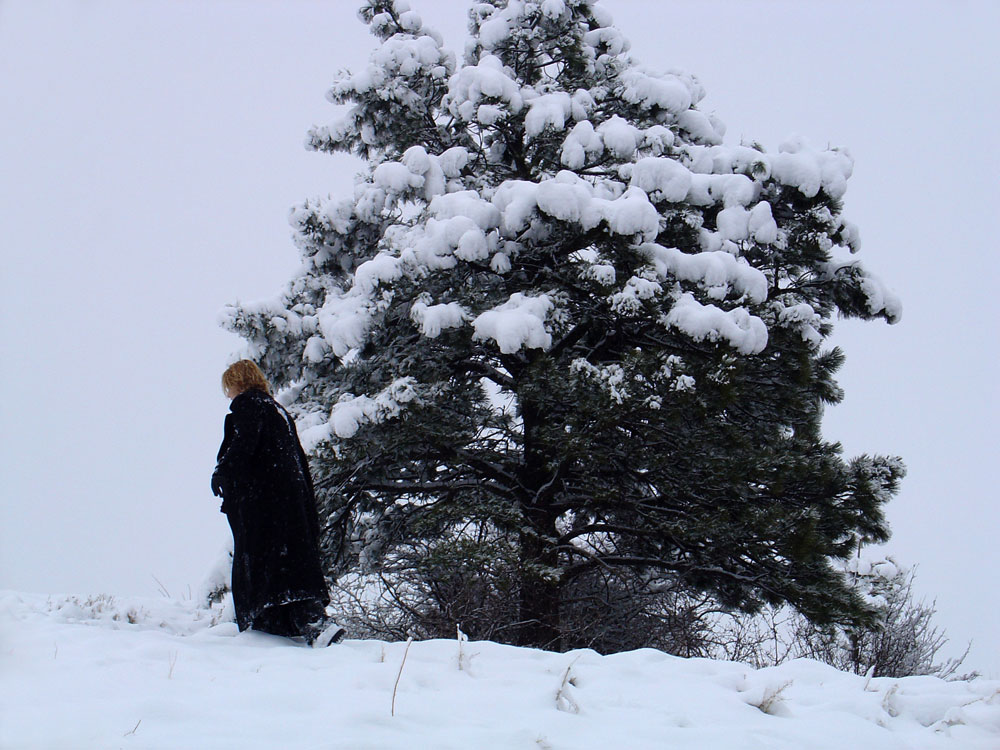
For this drawing I used vine charcoal and compressed charcoal on a 12″ x 16″ sheet of Strathmore 400 series 80 lb. drawing paper. My source photo is one I took of my wife, Sarah, wandering out in the snow.
Step 1:
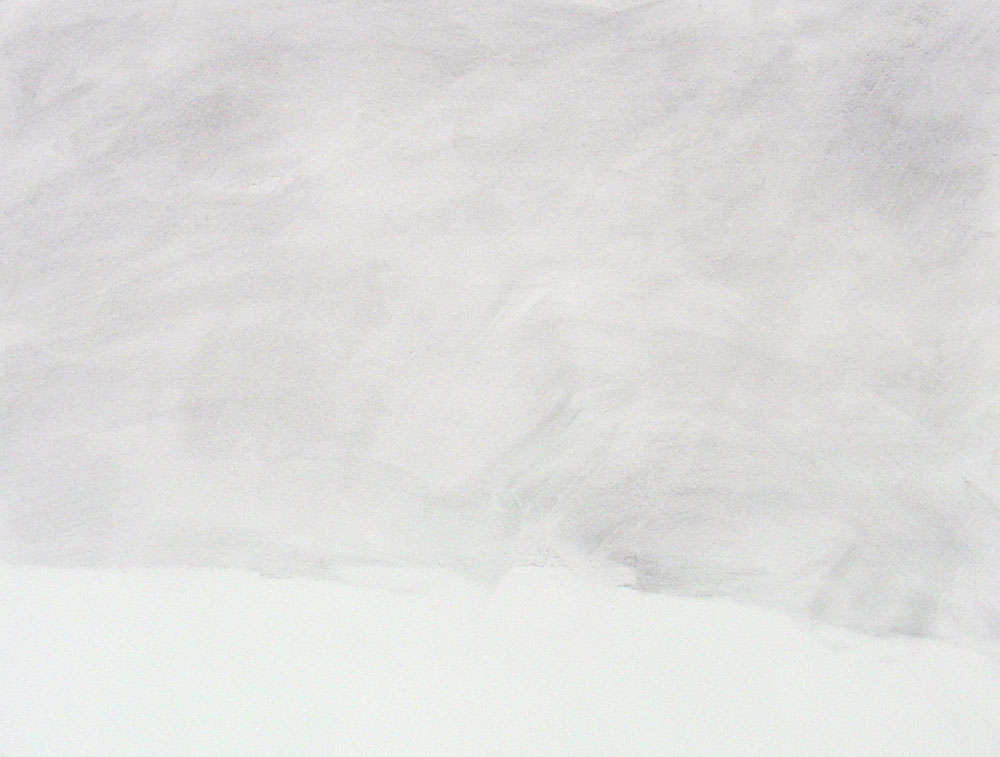
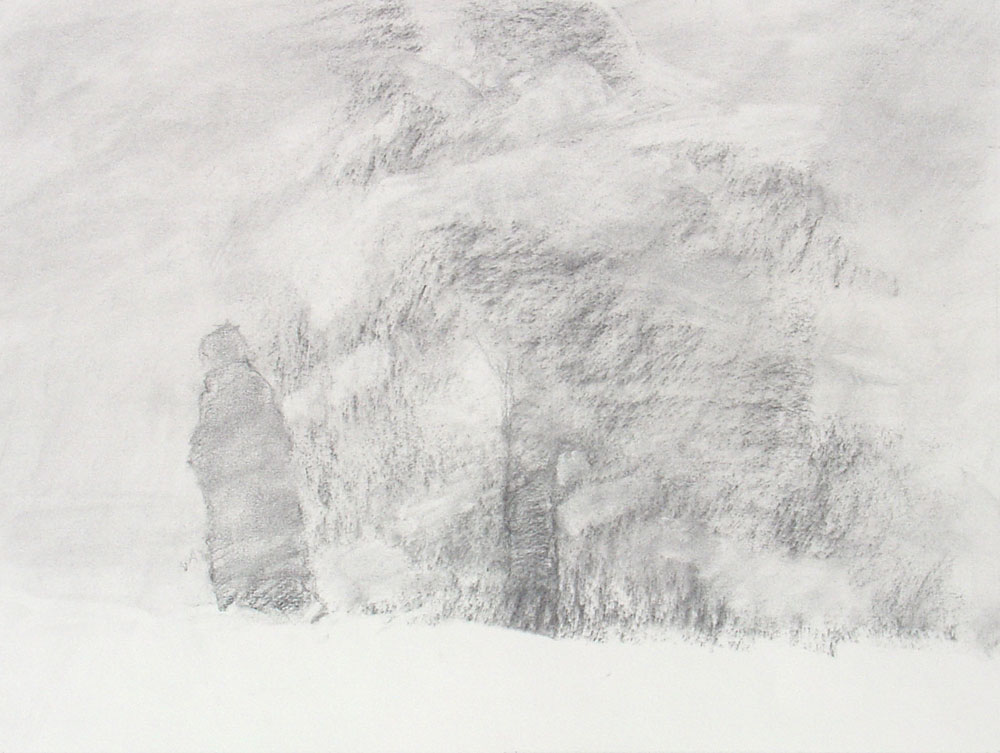
I decided to start this drawing by toning the sky area with vine charcoal and a chamois cloth to achieve a soft look but still have some interesting marks. By starting with the sky I can work from the background to the foreground and not have to draw the sky “around” the foreground objects later in the drawing.
Step 2:
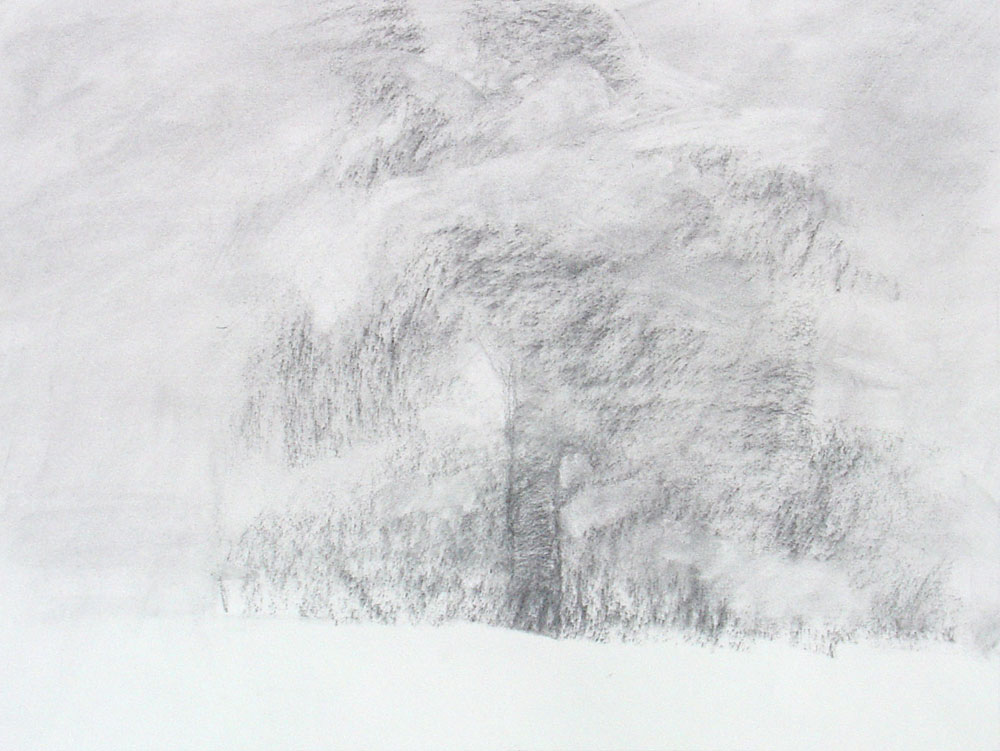
I tend to look for my biggest shapes to start my block-in and begin measuring to get the shapes correct. In this case, I started with the tree first since it is the largest object in the composition.
Step 3:
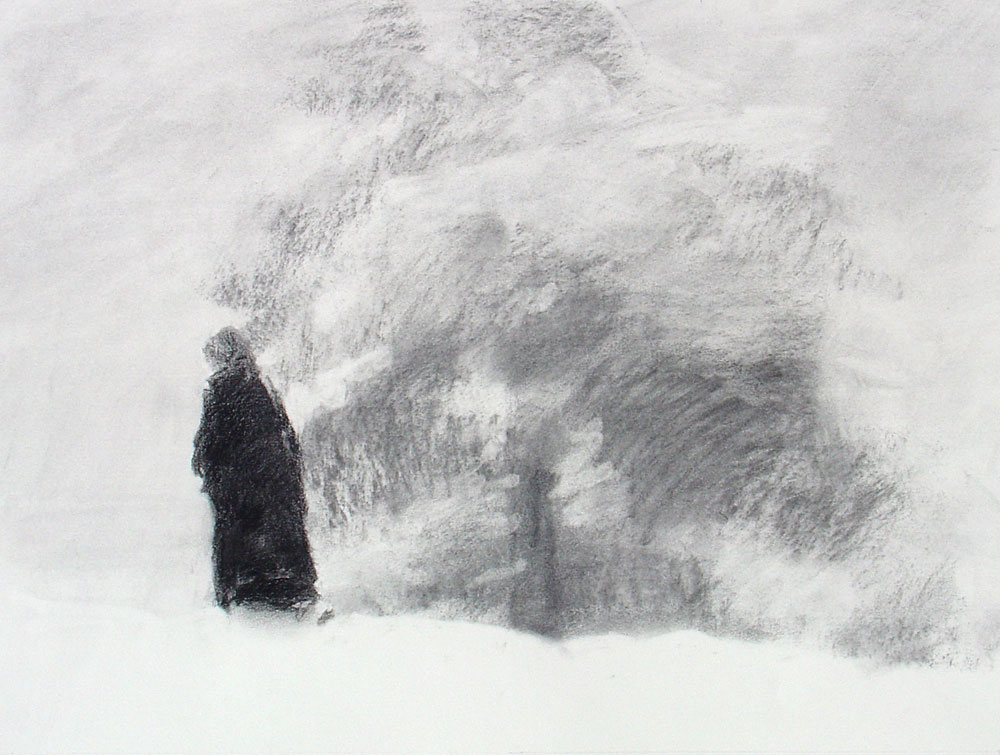
Using the measurements of the tree, I can accurately place my focal point (the figure). I make sure to spend as much time as necessary getting the measurements correct so I can avoid having to make major drawing adjustments as I continue through the drawing. I also look at my drawing in the mirror to further check for any drawing errors. It’s definitely easiest to make corrections in this early stage.
Step 4:
I try to develop my focal point early because it will set the value range for the rest of the drawing. My darkest areas will be in the figure and I intend to make the other elements secondary by keeping their values a little lighter in comparison. I’m using compressed charcoal for these darkest darks in order to get a dark enough value. I’m also thinking about edges in this stage since sharper edges will help direct the viewer’s eye to the figure and then throughout the piece.
Step 5:
The figure is now mostly finished so I move on to the tree but am careful to keep comparing values and edges to my focal point so I can keep it predominant. Again, I check the drawing in the mirror to see if anything is distracting from the focal point.

Step 6:
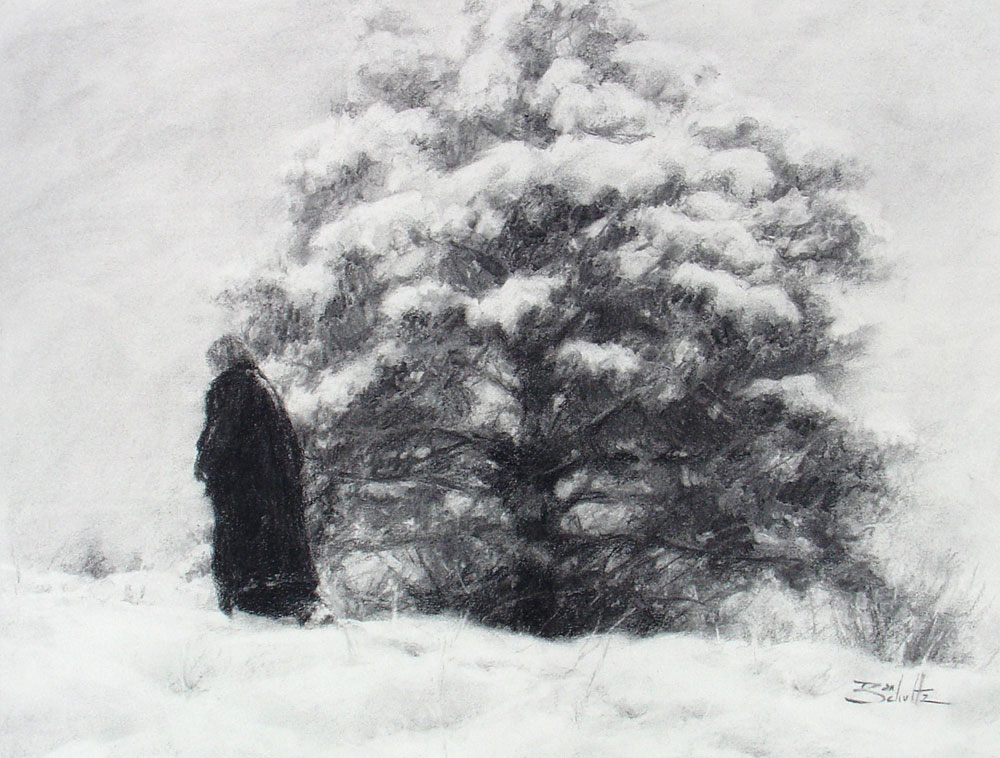
As I near completion, I continue developing the tree and also start adding the foreground snow. I keep the foreground simple enough so that it will lead the viewer into the scene without competing with the other elements in the drawing.

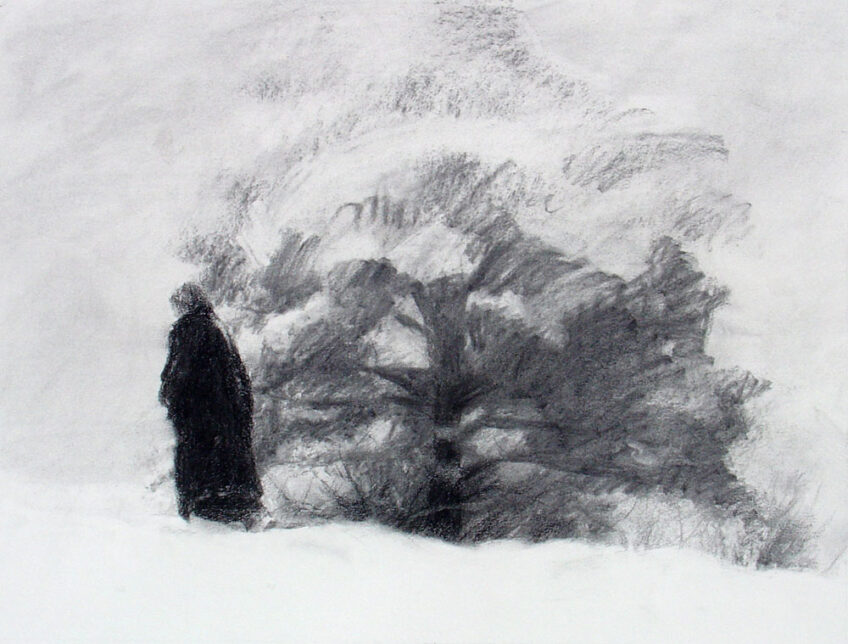
Step 7:
One last look at the drawing in the mirror helps me see if there is anything else that I need to adjust. If not, then I’m finished!
2 Responses
C-Marie
Nice, but what was used to make snow? The chamois cloth and charcoal??
Thank you! God bless, C-Marie
Dan Schultz
The snow is the white of the paper, and I used the chamois cloth to add a bit of charcoal for some subtle shadows in the snowy areas.