My last article talked about some of the benefits of oil painting wet-into-wet. This time we’ll focus on the wet-into-wet process.
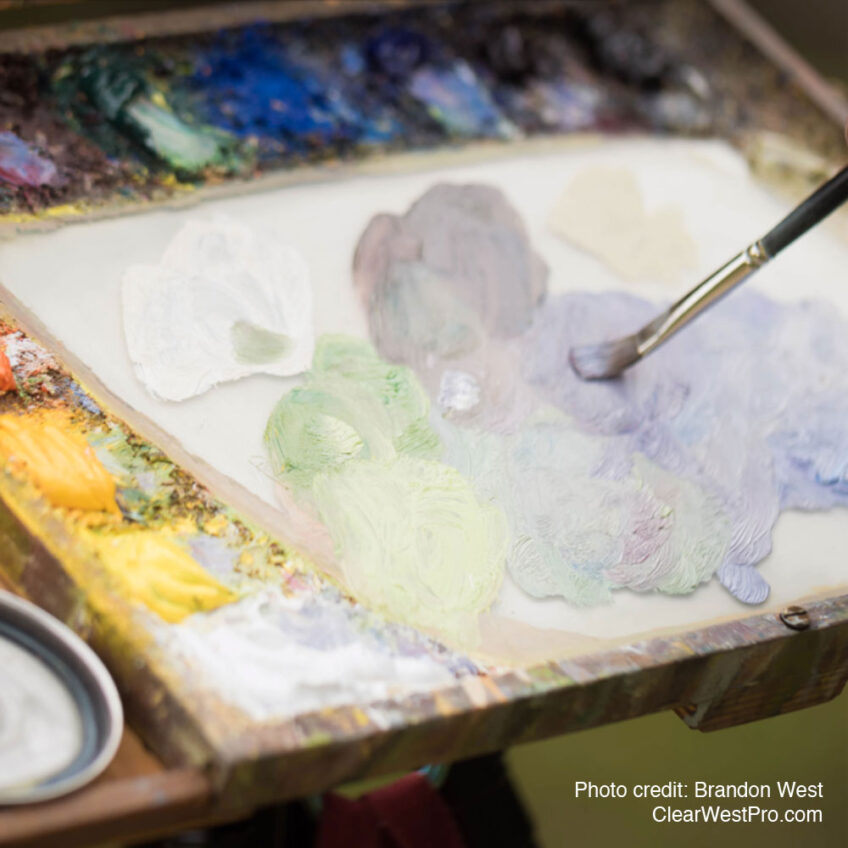
During the initial stages of my wet-into-wet process I add small amounts of solvent or oil to my paint mixtures. That way the colors flow off the brush more easily, allowing me to cover areas more quickly.
Solvent will evaporate from the painting, leaving just the paint on the canvas. For this reason it’s important not to add too much solvent to the paint. If the paint is diluted too much with solvent, there won’t be enough oil left to hold the paint film together once the solvent evaporates from the painting.
So if you like to paint very thinly, add a little walnut oil to your paint instead of solvent. The walnut oil will create a stronger paint film in thin layers than solvent. (Remember, walnut oil seems to be a better choice than linseed oil because of linseed oil’s tendency to yellow over time.)
From the midway point to the finish of any given painting, I don’t tend to add much thinner (either solvent or oil). I mostly use undiluted paint in those later stages. Working in this way, from thin to thick, is a time-honored system used by painters for ages.
On smaller paintings it’s effective to work on the entire surface at the same time from start to finish. But it can be quite a challenge to handle a large oil painting this way. The bigger size of large canvases makes it difficult to bring the whole surface to a finish before it dries.
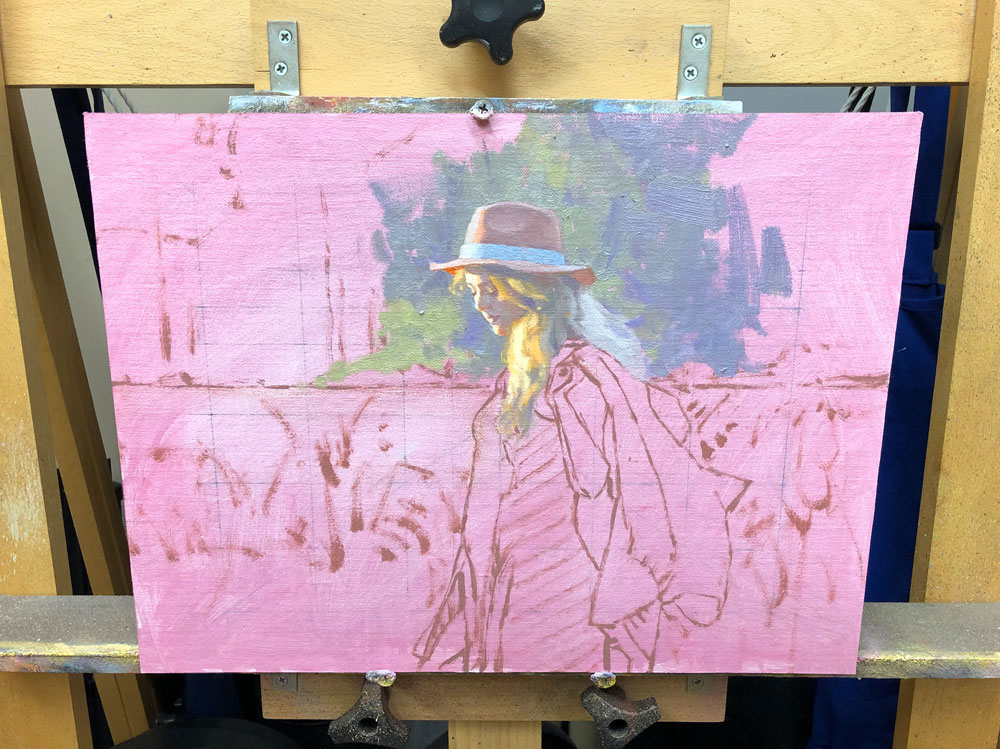
A better approach I’ve found for myself with larger canvases is to start painting in a particular area (usually the center of interest) and work outward, finishing as I go. (See this example.) It takes some definite precision and care to make correct comparisons throughout this process. But in this manner I can stop for a break at any point and let that section dry. (As long as that particular section is complete and I didn’t make mistakes that will need repainting later.) After a break, even an extended one, I can pick up where I left off and work on the next section, continuing to complete areas as I go. When the canvas is fully covered, the painting is finished unless any corrections need to be made anywhere. It can be difficult to properly judge colors and values before the canvas is all filled in, but that’s part of the learning curve of this method of working outward.
I’ve found that either of the above approaches works well as long as I’m taking care to accurately compare values and colors as I go. So give it a try and see if the oil painting wet-into-wet process works for you.
12 Responses
Stefan
Hi Dan,
great issue and interesting insights into your process of painting. I‘ve got a question about thinning oil paint for your monochromatic underpainting. Admitted your underpainting is dry after you go on and you use Walnut oil instead of OMS for this stage, how does it work concerning the fat over lean rule. I think using Walnut oil for thinning paint makes it quite fat.
Best
Stef
Dan Schultz
Hi Stefan — when I tone my canvas with a “wash” of color at the start of the painting process, I always use solvent (mineral spirits). Then as I paint on top of it I can begin using walnut oil for thinning if desired. That way it’s fat over lean. I don’t use walnut oil in underpainting. Does that answer your question?
Stefan
Thanks Dan for your answer!
William McCoy
Re: Extending curing time for oil colors, John Howard Sanden, Master Portrait painter, recommends mixing a drop of Clove Oil into each mound of paint on your palette. This is especially helpful with the quicker curing colors like Burnt Umber. In portraiture, this keeps the colors mixable for wet-into-wet technique, but doesn’t significantly increase the curing time, as Walnut Oil tends to do. It oxidizes much slower even than Linseed Oil. It depends on how long you want to wait before you can varnish and frame the finished piece. Besides, the Clove Oil smells good!
Dan Schultz
Hi William — thanks for your comment. I haven’t experimented with clove oil, but since I’m using walnut-oil-based paint, and it already dries a little slower than linseed-oil-based paint, I haven’t needed to extend the drying time of my colors. My finished paintings still dry to the touch in as little as 3 days. If I paint thicker or the temperature in my studio is colder through the winter months, they can take 6-12 days to dry to the touch.
Gwen Fox
Dan….love this newsletter as it is so informative. Thanks for the information about the walnut oil as I plan on giving it a try in my Abstracts. As always, I love your work!!!
Dan Schultz
Thanks, Gwen — hope you’re doing well!
Jair Grandin
Olá Dan, grato por mais uma grande e proveitosa lição!
Abraços
Colleen Veneri
Hi Dan:
Can refined walnut oil from a health food store be used for painting? If not, what walnut oil do you recommend? Thanks so much! Appreciate all the info.
Colleen
Dan Schultz
I’m not sure if you can use walnut oil from the health food store. I recommend using walnut oil from M. Graham & Co. You could also contact them and see what they think since they make all their oil paints with walnut oil. https://mgraham.com/
Doug Singletary
Hi Dan, very interesting technique you’ve explained for working larger. Thanks! Seems pretty challenging, but I’m up for a challenge from time to time. Lately I’m playing with a small (11×9) still life using a scrape-the-whole-panel-down-at-the-end-of-each-session approach. Each session is wet into wet, Possibly the final pass will be the result I’m carrying around in my mind and that final pass will carry the vitality of alla-prima. Probably not, but who knows? It’s an engaging experiment at any rate!
Dan Schultz
I hope the process will work for you, Doug!